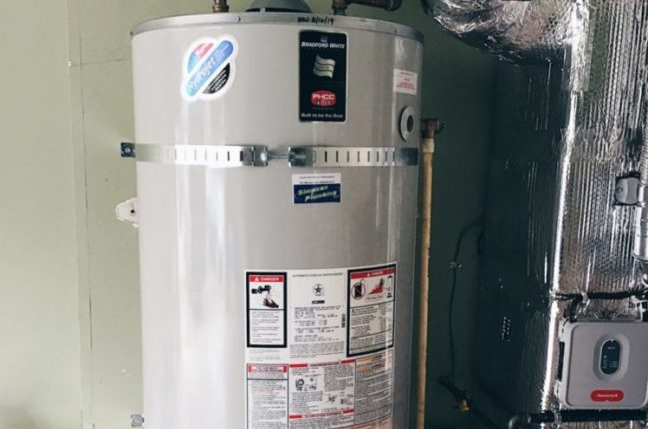
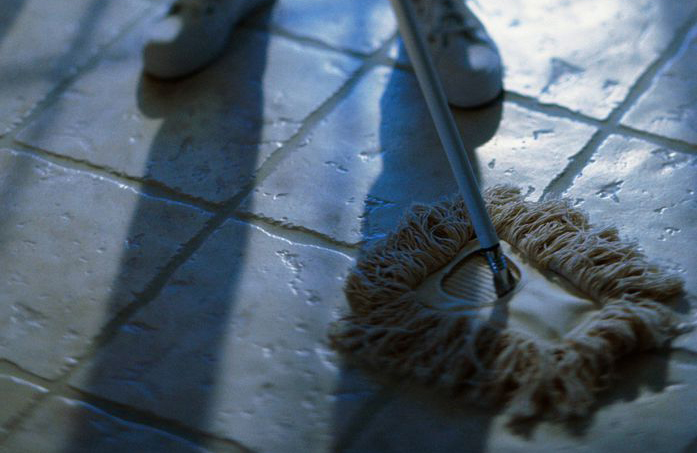
A water heater is the quintessential set-it-and-forget-it appliance. As long as our showers are hot, we tend not to give water heaters a second thought. But, like everything in your home, a water heater wears out over time and can really make a mess of washing dishes, bathing, and anything else that needs hot water. We often get customers that ask how they can check if their water heater leaks.
A water heater leak is one of those things that won’t always jump out at you, especially if it’s secluded in a back closet or a corner of the garage. Even if it’s in a laundry room, you may not notice it right away if it’s a slow leak. So it makes sense to check your water heater, even if you’re not experiencing any issues with your hot water.
How to Check if You Have a Water Heater Leak
Luckily, checking to see if you have a water heater leak is relatively easy if it’s easy to get to. Here’s how you can detect if you detect a leak in your water heater:
- Visual Inspection
- Examine the Tank
- Check Pressure Relief Valve
- Listen for Unusual Sounds
- Feel For Moisture
- Look for Mold/Mildew
- Review Water Bills
Visual Inspection
Start by examining the area around the base of your water heater for any signs of water pooling or dripping. Look closely at the floor and walls surrounding the heater for water stains or discoloration, which could indicate a leak. Leaks from the bottom of the water heater usually indicate a faulty drain valve.
Your water heater may not have a leak at all–it could be coming from the plumbing coming in or out of the tank. If it is leaking from the top, inspect the pipes and connections leading to and from the water heater. Look for any signs of moisture, dampness, or corrosion on the pipes and fittings.
If you notice any of these signs during your visual inspection, it’s important to address them promptly to prevent further damage and potential safety hazards. Consider reaching out to Simpson Plumbing to see if the unit can be repaired or needs to be replaced.
 Examine the Tank
Next, inspect the tank of the water heater itself. Look for any visible signs of corrosion, rust, or deterioration on the tank’s surface or any cracks or holes that may be allowing water to escape. You may even see water deposits on the tank itself, a hard crusty material. Pay close attention to the seams, joints, and welds of the tank, as leaks often occur in these areas.
Use a flashlight to illuminate the tank’s surface and inspect it thoroughly for any cracks, holes, or signs of water seepage. Check both the top and sides of the tank for any abnormalities. If you notice any signs of leakage or disruptions in the surface of the tank, it’s essential to address them promptly to prevent water damage and potential safety hazards.
Check Pressure Relief Valve
The pressure relief valve is typically located on the top or side of the water heater tank. It may be connected to a pipe that extends downward or sideways from the valve. Carefully lift the lever on the pressure relief valve to manually release some water. You should hear a hissing sound as the valve opens.
Allow water to flow out for a few seconds, then release the lever. After releasing the lever, observe the area around the pressure relief valve for any signs of water leakage. Check the valve itself, as well as the surrounding pipes and fittings, for moisture or dripping water. If you notice any leaks or dripping water, it may indicate a faulty pressure relief valve that needs to be replaced.
Listen for Unusual Sounds
Unusual sounds coming from your water heater could indicate potential leaks or other issues. Hissing sounds may indicate water escaping through a crack or hole in the water heater tank. Remember, the tank is filled with pressure, so that sound can be a good sign there is a leak or hole somewhere.
A sizzling noise could be leaking water coming into contact with the hot heating elements. If there is water leakage around the heating elements or pipes inside the tank, you may hear gurgling or bubbling sounds as water moves through the system.
Popping or banging sounds are usually sediment buildup at the bottom of the tank. This can create pockets of trapped air and when the heating elements heat up, the air bubbles can expand and cause the tank to make popping or banging noises. While this may not indicate a leak, it might be a good idea to get your tank flushed.
Feel for Moisture
In those spots that you can’t easily see, run your hands along the pipes connected to the water heater. If you feel any dampness or moisture, it could indicate a leak in the plumbing connections. If you can reach around to the back of the heater, give it the same treatment.
Check for Mold or Mildew
Inspect the area around your water heater for any signs of mold or mildew growth. Excess moisture from a leak can create a conducive environment for mold and mildew to thrive, especially if it’s located inside, like a laundry room or utility closet.
Mold and mildew in the home can pose serious health risks. Breathing in mold spores can trigger allergic reactions, respiratory problems, and exacerbate asthma symptoms. Prolonged exposure to mold can also lead to more severe health issues. Additionally, mold growth can cause structural damage to walls, ceilings, and other surfaces.
Monitor Water Bills
If you notice a sudden increase in your water bills without a corresponding increase in usage, it could be a sign of a hidden leak, including one in your water heater. However, if the leak is big enough to register that kind of jump in water, we think it would be pretty hard to miss.
You may want to check your electricity bills, too. If there is a water heater leak, it could cause it to work that much harder to keep the water warm. If the water heater is constantly heating water, that could definitely show up on the bill.
Why is My Water Heater Leaking in the First Place?
 A water heater can start leaking due to several possible reasons:
Corrosion: Over time, the metal tank of the water heater can corrode, especially if the water inside contains minerals or is acidic. Corrosion weakens the tank’s structure, leading to cracks or holes through which water can leak.
High Water Pressure: Excessive water pressure can put strain on the water heater’s tank and connections, causing leaks to develop over time. Fluctuations in water pressure within the plumbing system can also contribute to leaks.
Faulty Temperature and Pressure Relief Valve (TPR Valve): The TPR valve is a safety feature designed to release excess pressure inside the water heater’s tank. If the valve malfunctions or becomes stuck, it may fail to relieve pressure, leading to leaks or even tank rupture.
Loose or Damaged Connections: The pipes and fittings connecting the water heater to the plumbing system can become loose or damaged over time. Leaks may occur at these connections due to deteriorated seals or improper installation.
Sediment Buildup: Sediment, minerals, and debris can accumulate at the bottom of the water heater’s tank over time. This buildup can create hot spots that weaken the tank’s integrity, leading to leaks or cracks.
Age and Wear: Like any mechanical appliance, water heaters have a limited lifespan. As they age, the materials degrade, and components may wear out, increasing the risk of leaks and failures.
It’s important to address any signs of leakage promptly to prevent water damage, mold growth, and potential safety hazards. Regular maintenance, such as draining the tank to remove sediment and inspecting for signs of corrosion or wear, can help get more life out of your water heater and reduce the risk of leaks.
How To Avoid a Water Heater Leak
Unfortunately, leaks can go undetected for weeks or months. If that happens, your home may sustain water damage, not to mention increased energy costs because your water heater has to work that much harder. Here are a few tips that can keep the water heater from leaking, or at least minimize the chances of water damage.
1. Inspect the Water Heater Regularly
Stay on top of problems by keeping an eye on your water heater. You don’t need plumbing knowledge to give the heater and surrounding area a visual inspection. Here’s what to look for:
- Check for moisture around the plumbing connections.
- Look for water on the top of the tank.
- Look for water on the floor.
- Check the drywall near the water heater for moisture and mold.
If you see water anywhere near the appliance, it could signal a leak. The leak could be from the water heater, or if could be the result of another plumbing problem. Get the leak fixed right away–damage from standing water can be an expensive repair. Not to mention mold that can be harmful to you and your family.
2. Consider Moving the Water Heater
If you’re renovating your house, it’s a good time to relocate the water heater. A garage is an ideal place for a water heater. Moving the heater won’t keep it from leaking, but it can make it easier to monitor. Plus, a water leak on the garage floor is less likely to cause damage than one inside your home.
3. Watch for Changes in Hot Water
Is it taking longer for hot water to reach the tap? Is the water temperature lower than it used to be? A dip in the hot water supply can mean there’s a problem with the water heater, either by a leak or some other malfunction. In either case, having it inspected is recommended.
A water heater doesn’t need much attention, but don’t take yours totally for granted. When a heater starts breaking down, it can develop a leak. If you catch a problem early on, the fix is easy: call Simpson Plumbing in Vancouver, WA. We work on electric water heaters, gas water heaters, tankless water heaters, and more.
Most water heaters have a lifespan of 10 years, so keep an eye on your water heater, especially if it’s getting on in years. We’ll inspect the water heater and recommend the next step. We can repair some water heater problems, but often it’s best to replace an old appliance with a new one.


 About Us
  Services
  Plans
Plans  Commercial