
Why Your Home Smells Like Sewage and How to Fix It
Your home likely smells like sewage due to dry drain traps, sewer line blockages, or venting issues. The most common…


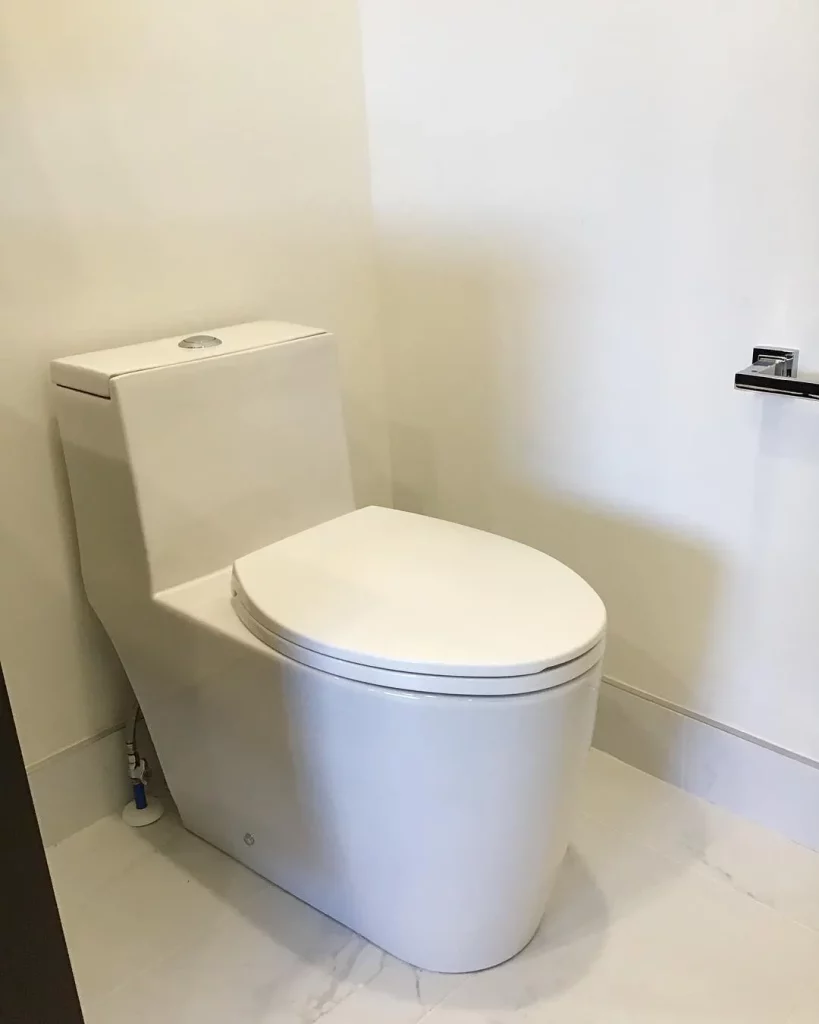
A toilet water supply line leak is one of the many ways a loo can run amok. The line runs from just under the tank near the base of the toilet and attaches to the water line on the wall or floor. Water leaking from the toilet supply line can be a simple fix and requires only basic tools.
If the supply line is dripping, you’ll see water pooling on the floor near the toilet. Whether you decide to do the repair yourself or call a plumber for help, it’s good to have an overview before the work gets underway. To find the leak, run your fingers or a rag around all the connections of the supply line.
The bottom of the toilet tank has a hole for the fill valve. This valve replenishes the supply of water to the tank after a flush. There are two nuts near the fill valve. Before working on the toilet, make sure to turn the water off at the wall.
Fill valve nut: The inlet nut holds the supply line valve in place. Using your hand, tighten the nut and then use a wrench to tighten the nut a bit more, but take care not to over-tighten. Turn the water back on and flush the toilet to test your work. If the line continues to leak, you may need to replace a washer in the nut.
The supply line nut: The supply line itself also has a nut that attaches to the valve. Try tightening this nut with your hand, then carefully tighten it a little more with a wrench. These nuts can be easily damaged, so be careful when you tighten them. If the nut is damaged or the leak persists, you may need to replace the supply line (generally less than $10).
Water can also drip where the supply line connects to the water line or at the shut-off valve. Try to tighten the fittings to see if that solves the problem.
Connection at the waterline: Find this connection near the wall. There are two different types of connections at the waterline: One type is a plastic compression nut and the other is threaded. Compression nuts look like rings with sloped edges. Use a wrench to carefully tighten a compression nut.
For a threaded connection, the supply line will need to be removed before tightening the nut. For each type of connection, check for leaks by turning the water back on. Continue alternating between tightening and testing, until the leak stops.
The shut-off valve: Is water coming out from under the shut-off valve? Look for the nut under the handle. Stabilize the valve with pliers while you use a wrench to tighten the nut. Stop turning when the water stops leaking or when the nut is tight.
If the drip continues after snugging up the connection, the valve may need to be disassembled and a new washer installed. If the valve is old, consider replacing it entirely. There are other types of leaks that can plague a toilet. Learn how to fix a running toilet here. Read how to troubleshoot a leaking toilet in this post.
For more hands-on repairs, we recommend reaching out to a professional so that the problem can be taken care of correctly and efficiently. With that being said, Simpson Plumbing can help you repair or replace your leaking toilet, whatever the cause. Give us a call to schedule a visit.


